What to Expect During a Roof Replacement Project
- Aug 26, 2025
- 4 min read

Replacing your roof is one of the most important investments you can make as a homeowner. While the thought of a roof replacement may seem overwhelming, understanding the process can make it less stressful and more manageable. A quality roof doesn’t just protect your home from Texas storms, heat, and hail—it also boosts your home’s value, efficiency, and curb appeal.
If you’re searching for “roof replacement” in Texas, here’s a clear, step-by-step look at what to expect from start to finish with Resurrection Roofing.
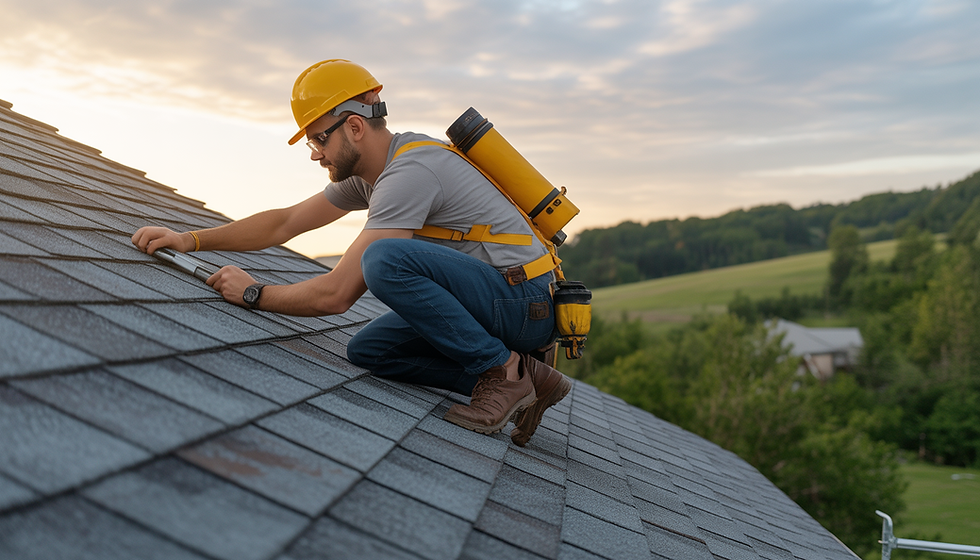
Step 1: Initial Roof Inspection
The roof replacement process begins with a professional inspection. At this stage, roofing experts evaluate the condition of your shingles, underlayment, flashing, and decking.
A thorough inspection helps determine:
Whether a replacement is necessary versus a repair
The extent of damage caused by storms, leaks, or age
The type of materials best suited for your home and Texas weather
At Resurrection Roofing, we also provide homeowners with a detailed explanation of findings, so you know exactly what’s happening before the project begins.
Step 2: Choosing Materials and Finalizing the Estimate
Once it’s clear a replacement is the right step, you’ll work with your roofing contractor to select materials. In Texas, it’s essential to choose products that can withstand high heat, strong winds, and hailstorms.
Common roofing options include:
Asphalt shingles: Affordable, durable, and available in many colors
Metal roofing: Long-lasting, energy-efficient, and highly resilient
Designer or architectural shingles: Premium look with added strength
At this stage, you’ll also receive a written estimate that covers material costs, labor, cleanup, and warranties. Transparent pricing ensures there are no surprises later on.
Step 3: Preparing for Roof Replacement
Before work begins, your roofing contractor will schedule a convenient time for installation and take steps to protect your property. This includes:
Laying tarps around your home to catch debris
Protecting landscaping, driveways, and outdoor furniture
Arranging for a dumpster or disposal container for old materials
As a homeowner, you can also prepare by moving vehicles from the driveway, covering valuable items in the attic, and notifying neighbors about the upcoming project.
Step 4: The Tear-Off Process
The first big step in the actual replacement is removing your old roof. This process, known as a “tear-off,” involves stripping away shingles, underlayment, nails, and sometimes damaged decking.
While it can be noisy and messy, a professional crew works efficiently to remove everything down to the roof deck, ensuring a clean surface for the new materials. Resurrection Roofing always disposes of old materials responsibly and keeps the worksite tidy.
Step 5: Roof Deck Inspection and Repairs
Once the old roof is removed, the decking is inspected closely. This step is crucial—installing new shingles over a damaged deck can lead to future leaks and structural issues.
If repairs are needed, they’ll be made before any new materials go down. This guarantees your new roof has a solid, secure foundation.
Step 6: Installing the New Roof
With the deck prepared, it’s time to install your new roof. The process typically follows this order:
Underlayment: A moisture barrier that protects against leaks
Flashing: Metal strips installed around chimneys, vents, and valleys to prevent water intrusion
Shingles or roofing material: Carefully layered to ensure maximum durability and weather resistance
Ventilation components: Proper airflow prevents heat buildup and extends roof life
Depending on the size of your home, installation may take one to three days.
Step 7: Cleanup and Final Touches
After installation, the crew performs a complete cleanup. This includes removing leftover materials, sweeping the yard with magnets for stray nails, and hauling away the dumpster.
Final touches, such as sealing edges and double-checking flashing, are completed to ensure your roof is watertight and secure.
Step 8: Final Inspection
The last step is a comprehensive inspection. At Resurrection Roofing, we walk homeowners through the finished project, review warranties, and answer any questions. This ensures you’re confident in the quality of your investment and know how to care for your new roof moving forward.
How Long Does a Roof Replacement Take?
On average, most roof replacements take 1–3 days. Larger homes, specialty materials, or unexpected repairs may extend the timeline. Weather can also play a role, especially in Texas where sudden storms can delay progress.
Signs You May Need a Roof Replacement
Not sure if your roof is ready to be replaced? Look out for these common warning signs:
Shingles that are curling, cracked, or missing
Frequent leaks or water stains on ceilings
Granules collecting in gutters
Sagging areas on the roof
A roof that is 20+ years old
If you notice any of these, it may be time to schedule an inspection.
Why Choose Resurrection Roofing for Roof Replacement?
When it comes to roof replacement in Texas, choosing the right contractor makes all the difference. At Resurrection Roofing, we bring:
Local expertise: We understand Texas weather challenges
Honest evaluations: We help you decide between repair and replacement
Skilled crews: Trained professionals who prioritize safety and quality
Clear communication: From inspection to final inspection, you’re always in the loop
Strong warranties: Protecting your home and your investment for years to come
Final Thoughts
A roof replacement may seem like a big undertaking, but with the right roofing partner, it doesn’t have to be stressful. Understanding the step-by-step process—inspection, tear-off, installation, cleanup, and final inspection—helps you know exactly what to expect.
When it’s time to replace your roof, trust Resurrection Roofing to protect your Texas home with expert craftsmanship and dependable service.